FAQs and Troubleshooting
This section provides answers to frequently asked questions and common troubleshooting issues.
Setup
Cannot log into Thredd Protect
-
Check your credentials are correct. Both the username and password are case sensitive.
-
If you forget your username or password, contact Thredd by raising a Thredd JIRA to request your username or a password reset.
After 3 failed login attempts, your account will be locked for 15 minutes after which you can try again. If you are unable to log in, contact Thredd to unlock your account and send you a password reminder.
How do I reset my password?
Changing or resetting a password.
Thredd JIRA or via email by sending a password reset request to FraudTeam@thredd.com.
Monitoring
How do I filter data on transactional pages?
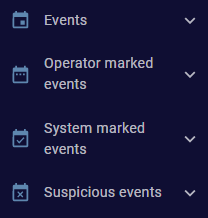
On any transactional page/sub-page (Events, Operator marked events, System marked events or Suspicious events):
-
Click on
 Filter builder in the top-right of the page:
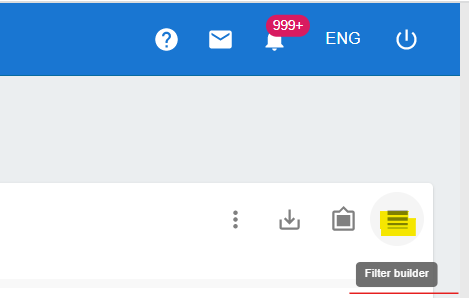
The filter area appears. The following filter appears with the default filter Event timestamp attribute (this filter is always present and cannot be removed).
-
Click
 Add new item to add an additional filter if needed.
The default options appear.
-
From the dropdown, select the filtering “Attribute” (for example, Token), choose an operator (for example, Equals), provide the actual value of the attribute (for example, the token number) and click on
 APPLY to filter the data.
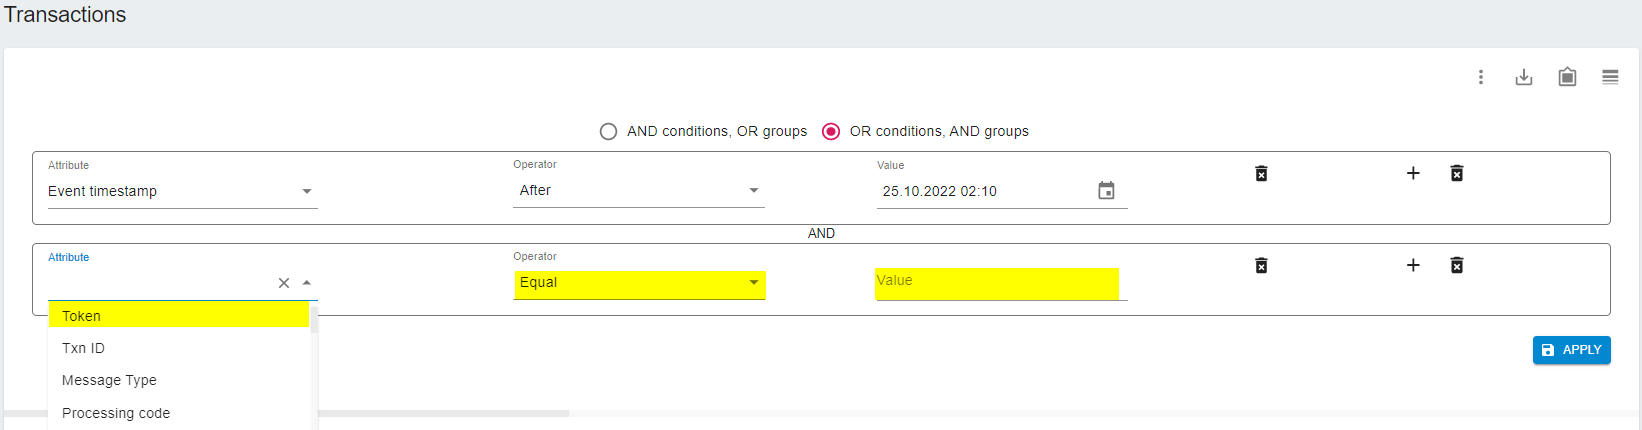
How can I quickly filter transactional data?
-
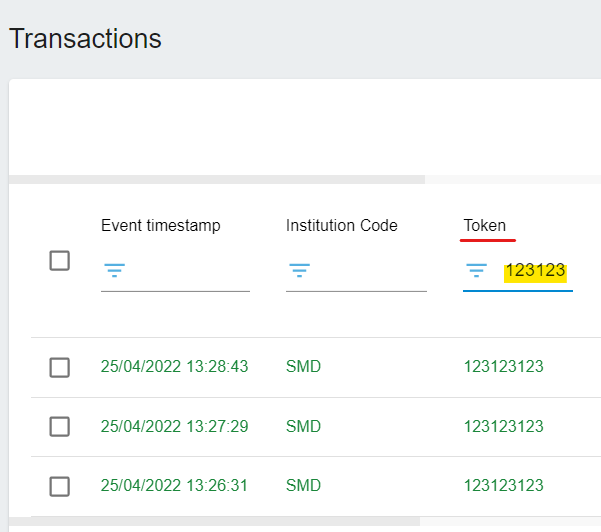
On any transactional page, at the top of each column, type or copy/paste the values you want to filter on. For example, to filter and display only transactions for a particular token, input its value to the right of
 :
: 
-
Multiple quick filter options can be used simultaneously by inputting values to the right of
in the columns that display a continuous line (for example, Token = 340885150 AND Message Type = 0100):
How do I export transactional data?
-
To export a selection of transactions, select your transactions then right-click and select Export selected rows or click
 Export selected rows in the top-right corner:
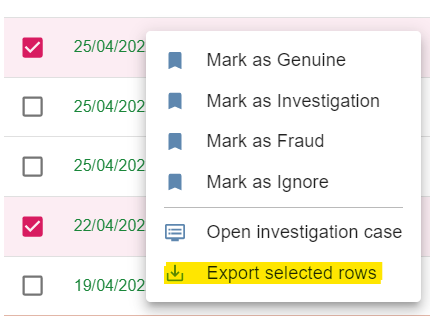
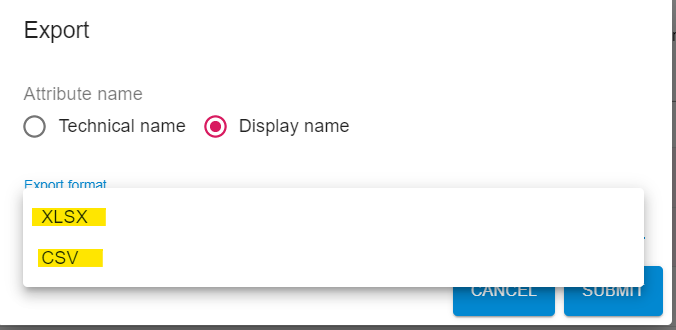
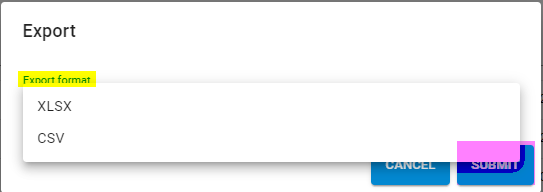
A window appears in which you can select the Export format such as XLSX or CSV.
-
Click SUBMIT to save the file on your local computer.
-
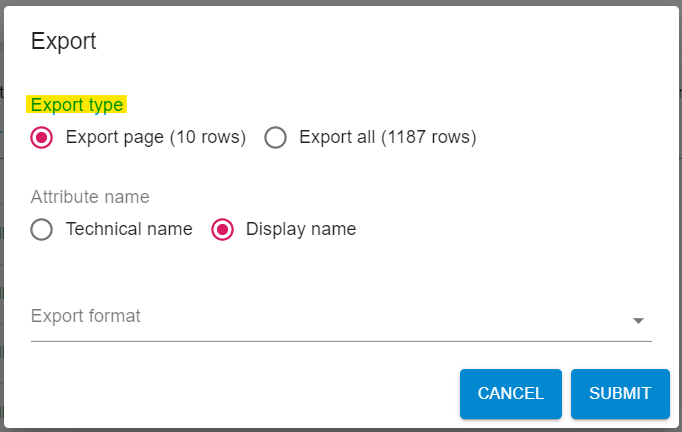
To export all transactions on a page (no specific transactions are selected), click
 Export in the top-right corner:
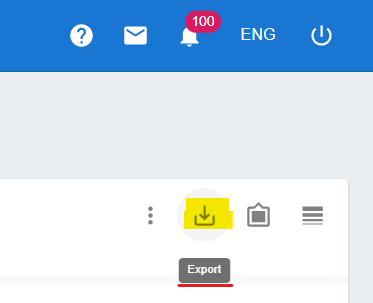
A window appears in which you can select the Export format such XLSX or CSV.
-
Click SUBMIT to save the file on your local computer.
How do I mark transactions after investigating them?
There are two methods which are described below.
With both methods, multiple transactions can be selected simultaneously so that you can bulk mark multiple transactions with the same status.
Method 1
After finalising the investigation, select the checkbox next to the transaction, then right-click and assign a status:
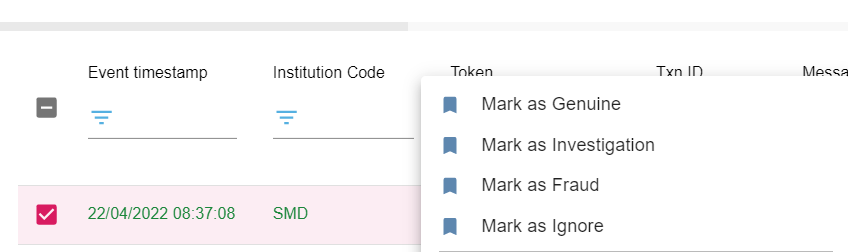
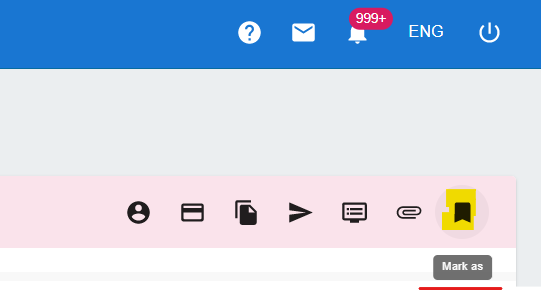
Method 2
After finalising the investigation, select the checkbox next to the transaction, then click ![]() Mark as and select the option to assign a status:
Mark as and select the option to assign a status:
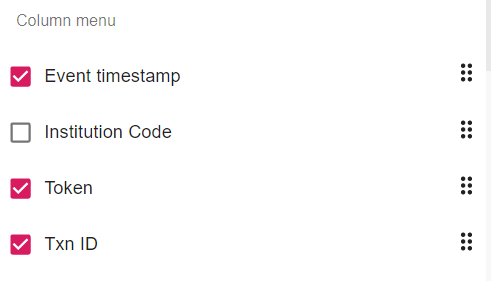
How do I customise the displayed data on transactional pages?
-
To display specific columns on-screen, hide columns or reorder columns so they better reflect how you use the data, on any transactional page/sub-page (Events, Operator marked events, System marked events or Suspicious events) click
 Column customization on the top right:
-
After the list of displayed columns appears, select or deselect a column to add or remove it from the screen. To reorder columns, drag and drop them up and down:
How do I save and use frequently-used filters on transactional pages?
-
Make sure all frequently used filters/conditions are configured and contain the desired values.
In the example below, two filters/conditions are defined:

-
To save these for later use, click
 Custom filter in the top-right corner:
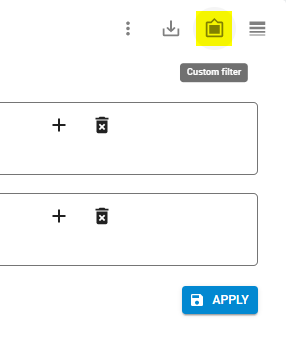
-
A pop-up appears. Click
 Save.
Save.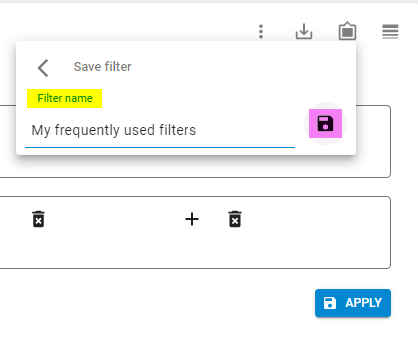
To use a saved filter, on the transactional page click ![]() Custom filter in the top-right corner, and select your filter:
Custom filter in the top-right corner, and select your filter:

All the conditions/groups will be automatically populated and can be used to filter the data on the selected page.
Investigating
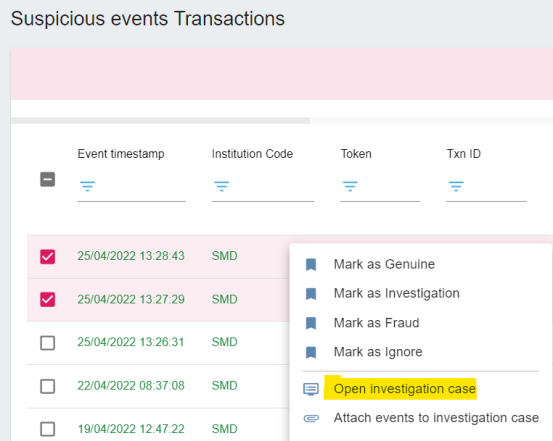
How do I open an investigation case?
You can use several methods to create an investigation case:
Method 1
On any transactional page/sub-page (Events, Operator marked events, System marked events or Suspicious events) select the transaction(s) that should be part of the case, then right-click and select ![]() Open investigation case from the context menu:
Open investigation case from the context menu:
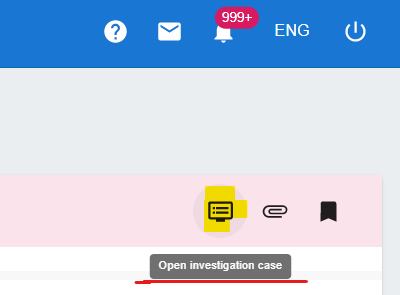
Method 2
After selecting transactions, click  Open investigation case in the top-right corner:
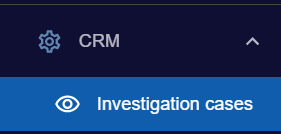
Method 3
Navigate to CRM > Investigation cases and click Add new item to create a new case.
Transactions can be added later to an existing case, as described in the following topic.
How do I add transactions to an existing case?
You can use two methods to add transactions to an existing investigation case.
Method 1
-
Select the transaction(s) you want to add to an existing case, then right-click and select
 Attach events to investigation case from the context menu:
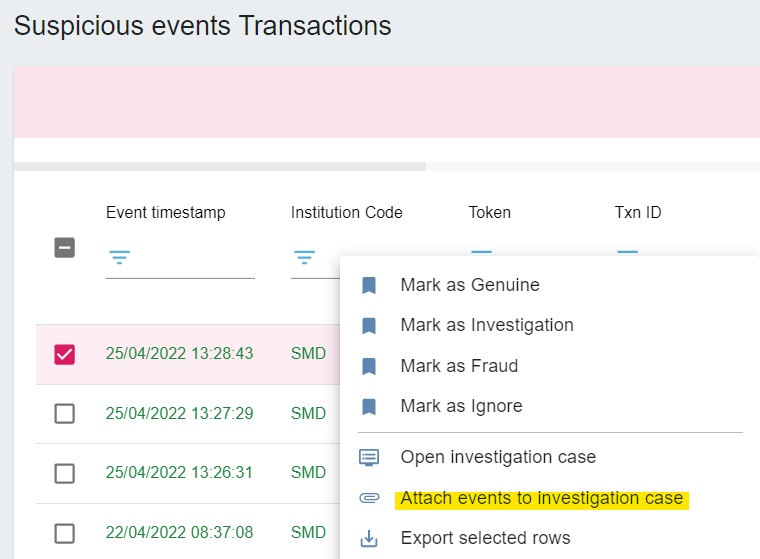
Method 2
-
After selecting transactions, click
Attach events to investigation case in the top-right corner: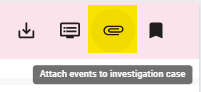
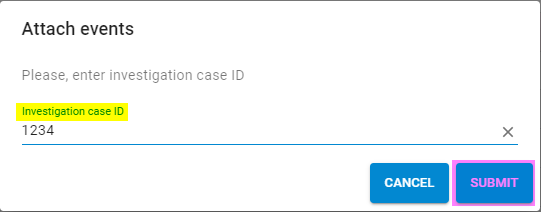
Regardless of the method used, you will be prompted to provide the Investigation case ID for the case the transactions are to be added to. Click SUBMIT to commit the addition:
How do I find specific investigation cases?
-
On the CRM > Investigation case page, at the top of each column, type or copy/paste the values you want to find.
For example, if you know the Case ID you are looking for, input its value to the right of
: 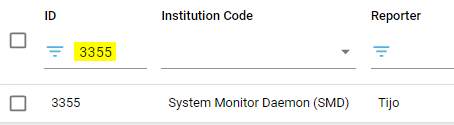
Multiple quick filter options can be used simultaneously by inputting the appropriate values to the right of ![]() in the corresponding columns.
in the corresponding columns.
For example, if you do not know the Case ID number but you remember you opened the case (you were the reporter) and you mentioned in the description that further investigation is required (for example, Case ID = 3355 AND Description = %investigation required%):

How do I export cases?
-
Using the CRM > Investigation case page, you can export all cases (the default) or select particular cases to export.
For example, to export only closed cases, you can apply a filter or a quick filter Status = closed.

-
After the cases that meet your requirements appear, click
Export in the top-right corner:
-
A pop-up appears. Select the Export format (XLSX or CSV) and click SUBMIT:
The selected file format containing all the cases is exported and saved to your workstation/local drive.
Reporting
How do I generate reports?
-
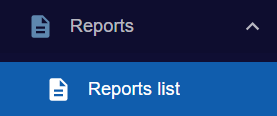
Navigate to Reports > Reports list (note that only users with Manager access can generate reports):
-
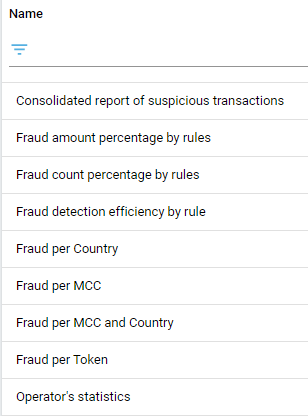
Select a report from the list:
-
Input all the requested parameters (Start of period, End of period, Institution etc.) and click EXECUTE REPORT:
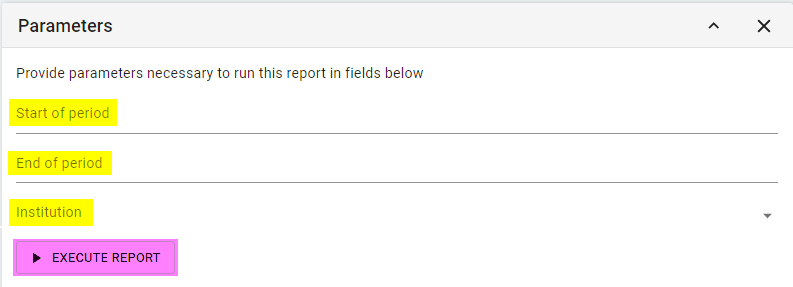
After the report is generated, you can view it on the Results pane.
If the report takes time to generate, try refreshing your browser page.

-
Choose the generated report by selecting the checkbox next to it and, depending on the exported format, click either RENDER TO PDF or RENDER TO EXCEL:
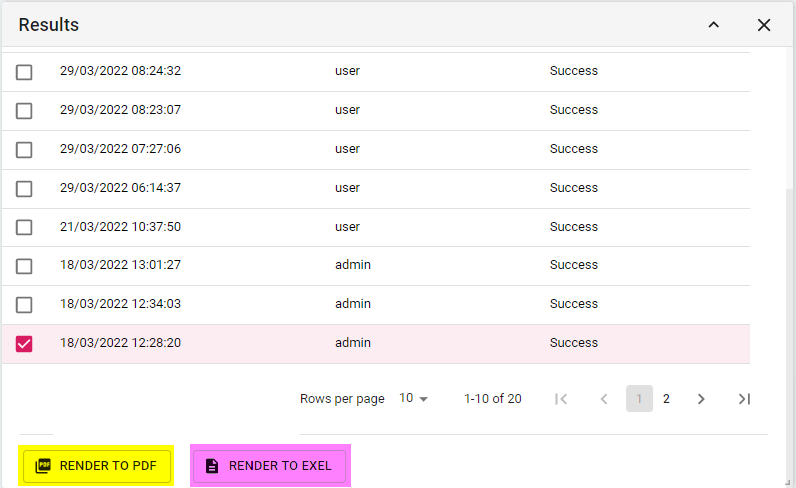
The selected file format containing the report is exported and saved to your workstation/local drive.
How do I generate reports on a scheduled basis?
Reports can be generated automatically by the system with a predefined frequency.
-
Navigate to Reports > Reports list (note that only users with Manager access can generate reports) and click on a report.
-
On the Schedule pane, click
Add new item: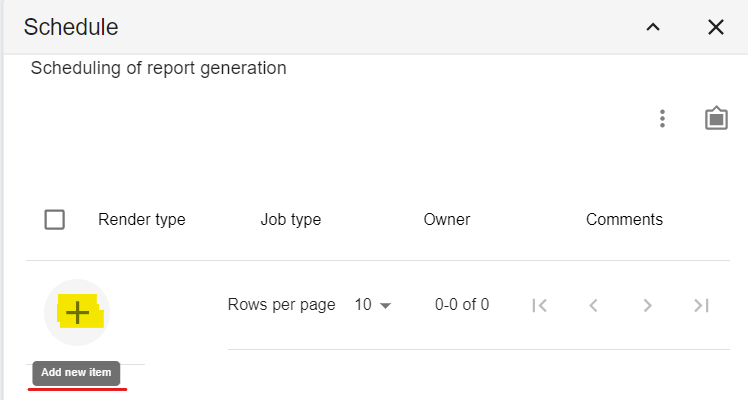
-
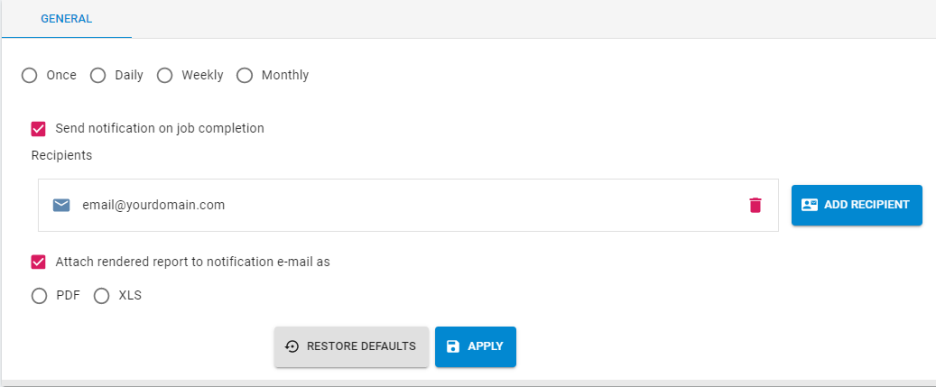
In the window that appears, input the requested information:
-
Choose the frequency: Once, Daily, Weekly, or Monthly
-
Send notification on job completion (if selected, an email confirmation is sent to the provided recipient(s) to notify them the report has been generated as scheduled)
-
Recipients: input the email address(es) of the recipient(s)
-
Attach rendered report to notification e-mail as (if selected, the report is attached to the email sent to the recipient(s))
-
-
Click APPLY to save the scheduled report generation job.