22 Managing Authentication Rules
The Authentication menu on the Apata Portal Dashboard enables you to view your challenge methods, card programs and corresponding BIN ranges, and also create and update your authentication rules. Options include:
-
Creating and Editing Risk profiles (administrator-level only)
Thredd provides default authentication rules and profiles for your programme; you can edit or add to these rules and profiles to meet your business requirements. (Before making any changes, we recommend you discuss first with your 3D Secure implementation Manager.)
Only Administrator users can edit these options.
22.1 Viewing Risk Profiles
A risk profile defines a set of rules for processing of transaction requests and determining the action the system should take (such as accept, reject or challenge). A Risk profile could be simple, consisting of a single rule, or complex, consisting of multiple rules. You can also define the order in which the rule checks are made.
-
To view a list of risk profiles, select Authentication > Risk Profiles from the left-hand menu.
-
To view details of a risk profile, click the
 button.

Figure 19: View Risk Profiles
Below is an example of a simple risk profile rule, configured to allow all (no challenge screens will appear). This might be suitable for low-value prepaid cards or closed loop card programmes.

Figure 20: Risk Profile Rule - Allow All
Below is an example of the opposite risk profile rule, configured to provide challenge screens for all authentication transactions. This might be suitable for cards that are considered very high risk (e.g., issued in higher risk countries).

Figure 21: Risk Rule - Challenge All
Below is an example of a complex risk profile, consisting of multiple rules, created for a card program in the EU. The risk profile consists of rules to allow frictionless authentication in the following circumstances:
|
|

Figure 22: Example of Risk Profile Details
Each Risk Profile and its associated rules is assigned a unique system ID, which is then assigned to a card program (i.e, grouping of cards of BIN ranges).
-
To view further details of the rule, click the
 button next to the rule.
The example below shows the configuration for rule 6. In this example, you can select the type of transactions (identified by codes: 04, 05, 06, 07, 08, 09 and 10) that are treated as non-payment transactions and which will be allowed without any Challenge screens.

Figure 23: Example of a rule configuration
22.2 Creating and Editing Risk Profiles
To create a new risk profile, in the Risk Profiles screen, click the Create Risk Profile button.
Only administrator users can access this functionality.
To edit an existing risk profile, click the  button.
22.2.1 Adding a new rule
-
To add a new rule, scroll down to the bottom of the screen and click the
 button.
 -
Select the rule you want to add. For a list of available rules, see Appendix 1: Apata 3D Secure Rules.
22.2.2 Adding a Conditional Rule
-
To add a new rule, scroll down to the bottom of the screen and click the
button. -
Select the Conditional rule.
-
Select an action for your rule. Options include:
-
Configure the conditions which trigger the rule:
-
Click the Add Rule button.
-
Use the operator selector (e.g., AND, OR) to add multiple conditions.
-
Select a Field Name, Operation and Value for the condition. The value that can be selected or entered depends on the field name selected.
See the examples below:
-
-
If you have multiple rules, you should order your rules in the order in which you want them to be checked. The system will move on to the next rule in the list, provided that the Next rule action has been specified. (If no Next rule action is specified, the final decision is returned (accept, reject or challenge).
If the transaction does not meet the criteria of any rules in the risk profile created, the transaction will be challenged as a default behaviour.You can also set a SIMPLE rule as the last rule in the risk profile and set desired “Action” (example: Accept or Reject).
-
To delete a condition, click the
 button.
 -
To save your changes, click the
 button.
|
Rule |
Description |
|---|---|
|
Accept |
If rule condition is met, allow frictionless authentication. |
|
Reject |
If rule condition is met, reject the authentication. |
|
Challenge |
If rule condition is met, show Challenge screens. |
|
Next |
If none of the previous rule conditions are met, move on to the next rule. |
|
Field Name |
Operation |
Value |
Action Configured |
|---|---|---|---|
|
Risk Score |
Is |
Low |
Accept |
|
MCC |
Is |
7995 |
Reject |
|
Amount |
Is greater than |
200 |
Challenge |
Below is an example of a conditional rule. In this rule the Challenge action is triggered when the following conditions are met: Amount if greater than 100 and risk score is HIGH.

Figure 24: Example of a Challenge rule configuration
22.2.3 Creating a Draft Risk Profile
A draft risk profile lets you add changes to an existing risk profile before applying the change to the Live environment. This enables you to check any changes prior to publishing, ensuring that these are configured correctly to perform the desired actions. The draft risk profile also enables you to run a backtest, which simulates how an updated version of a risk profile performs on transactions before publishing. For information on backtesting, see Backtesting Risk Profiles.
- From the dashboard, click on the risk profile that you want to update. For example, you change a rule action from Accept to Challenge.
- Click the Drafts tab.
- In the displayed box that is labelled Oops Nothing Here, click Add New Draft.
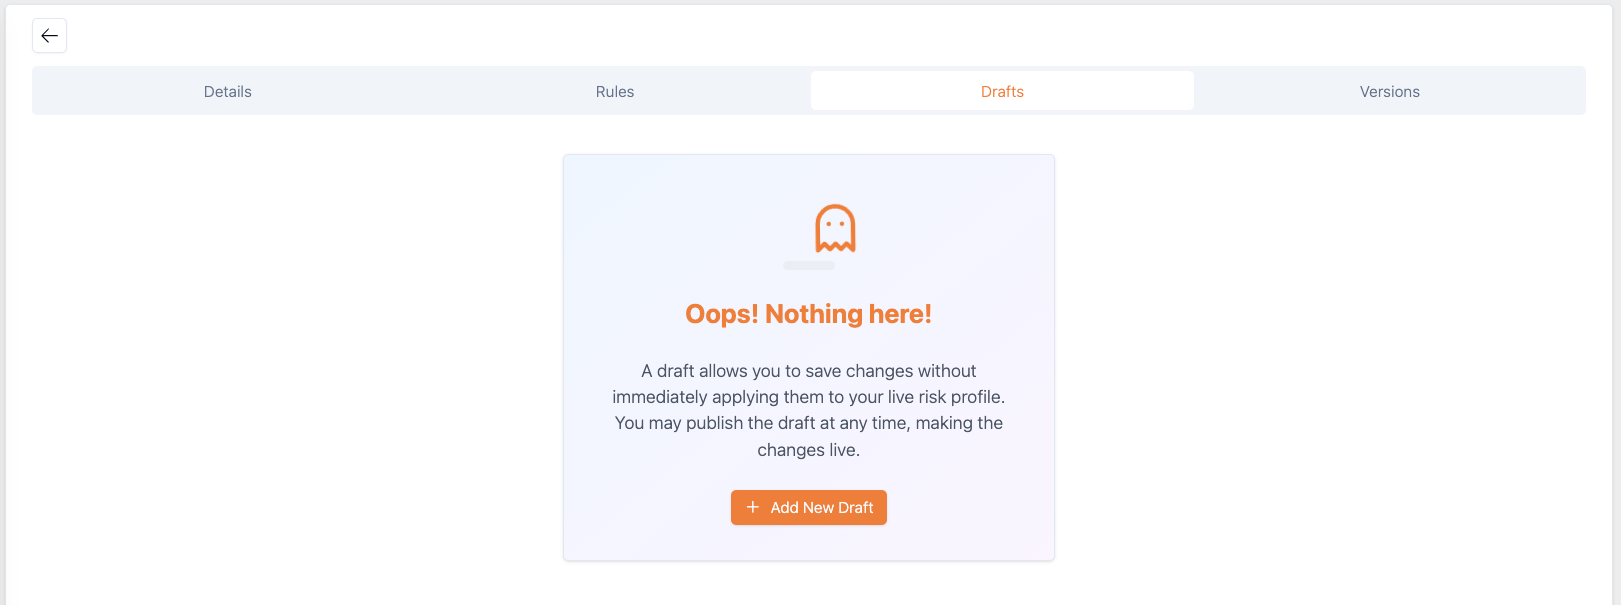
Figure 25: Drafts tab for creating a draft risk profile
- Add your rules to the draft risk profile.
- Click Create Draft.
- If you want to include comments, add these to the displayed window and click Create.
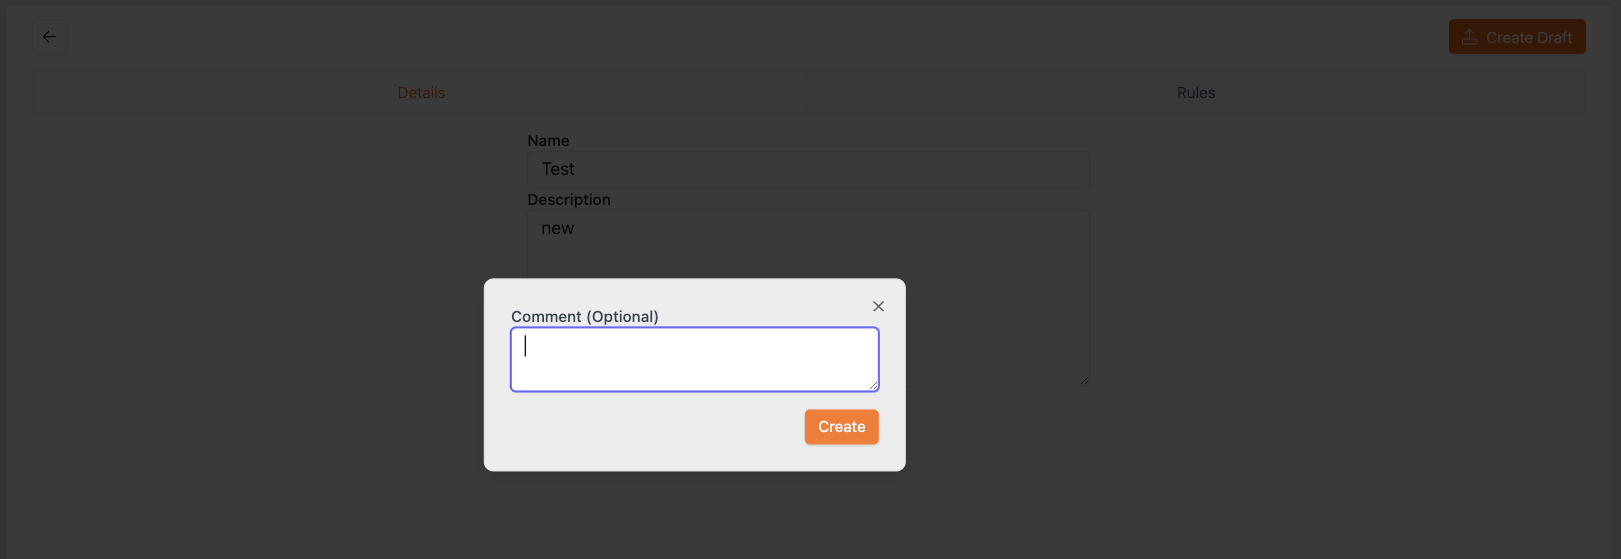
Figure 26: Adding comments for a draft risk profile
The created draft risk profile appears under the Details tab.
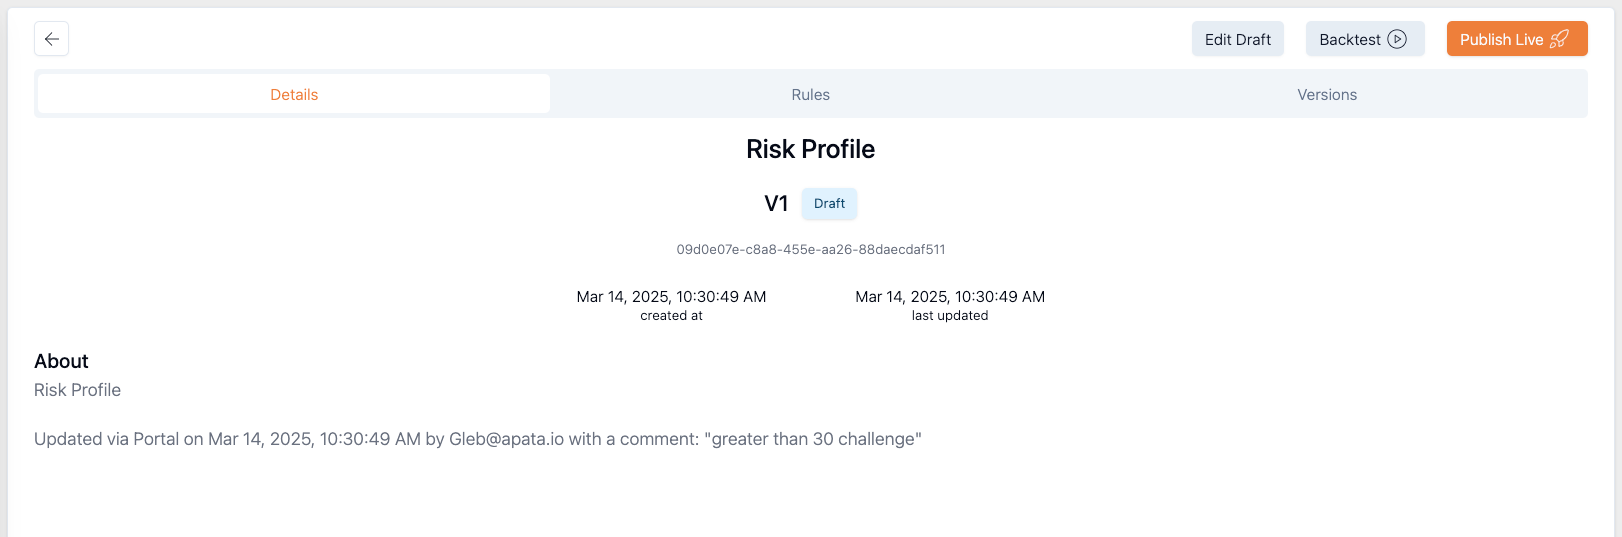
Figure 27: Created draft risk profile
Once you have created the draft risk profile, you can edit or publish it, or run a backtest. You can also share the draft risk profile with your colleagues.
Clicking the Rules tab from the Details tab, lets you refer back to the live profile.
22.2.4 Editing a Draft Risk Profile
You can modify a draft risk profile. For example, you can change a rule action from Challenge to Reject.
- Open the risk profile by clicking the button.
- Click Edit Draft.
- Click Update Draft. A message box appears where you can add a comment.
- Click Update.
Deleting a Draft Risk Profile
- Ensure that you risk profile is in Edit mode where you have clicked the Edit Draft button.
- Click the Delete Draft. A confirmation message appears.
- Click the Delete.
22.2.5 Publishing a Draft Risk Profile
- Click Publish Live. Publishing applies the changes from the draft risk profile, and replaces the Live profile.
22.2.6 Running a Backtest
- For more details, see Backtesting Risk Profiles.
22.3 Viewing Challenge Methods
The Challenge method defines the type of Challenge options used to authenticate a cardholder during an online 3D Secure session. Examples include OTP SMS, OTP email and biometric. The Apata system provides a number of default Challenge options that can be selected as default for your programme. Please check with your Thredd 3D Secure Implementation Manager to determine which methods can be used with Thredd.
If you require any changes to your configuration including adding new challenge methods, please speak to your Thredd 3D Secure Implementation Manager.
-
To view a list of challenge methods, select Authentication > Challenge Methods from the left-hand menu.
-
To view details of a challenge method, click the
 button.

Figure 28: View Challenge Methods
Below is an example of a challenge method, using SMS OTP.

Figure 29: OTP SMS Challenge Method Example
A mock-up view of the Primary challenge screen is displayed in the right-hand pane. For details of how to specify text and logo changes, see Configuration of 3D Secure Screens.
Each challenge method is assigned a unique system ID.
22.4 Viewing Card Programs
Apata's options for authentication at card program level enable you to set up different risk profiles, depending on the card BIN range. This is a useful option to enable you to assign different risk profiles to different types of cards, based on BIN range. For example, your issuer (BIN sponsor) may have assigned you with different BINs for Corporate cards versus Consumer cards, or separate BINs (BIN ranges in the EEA) for each of the countries in which you intend to issue cards.
-
To view a list of card programs, select Authentication > Card Programs from the left-hand menu.
-
To view details of a card program, click the
button. Below is an example of a card program. -
To view the Risk profile associated with the card program, click the
button. -
To view the card BIN ranges, status and other details associated with the card program, click the
 button.

Figure 30: View Card Programs
If the Card Program is set to Default, it will automatically include all card ranges that are not already associated with another Card Program.
To apply any changes to your card program setup, please raise a change request with your Thredd 3D Secure Implementation Manager.
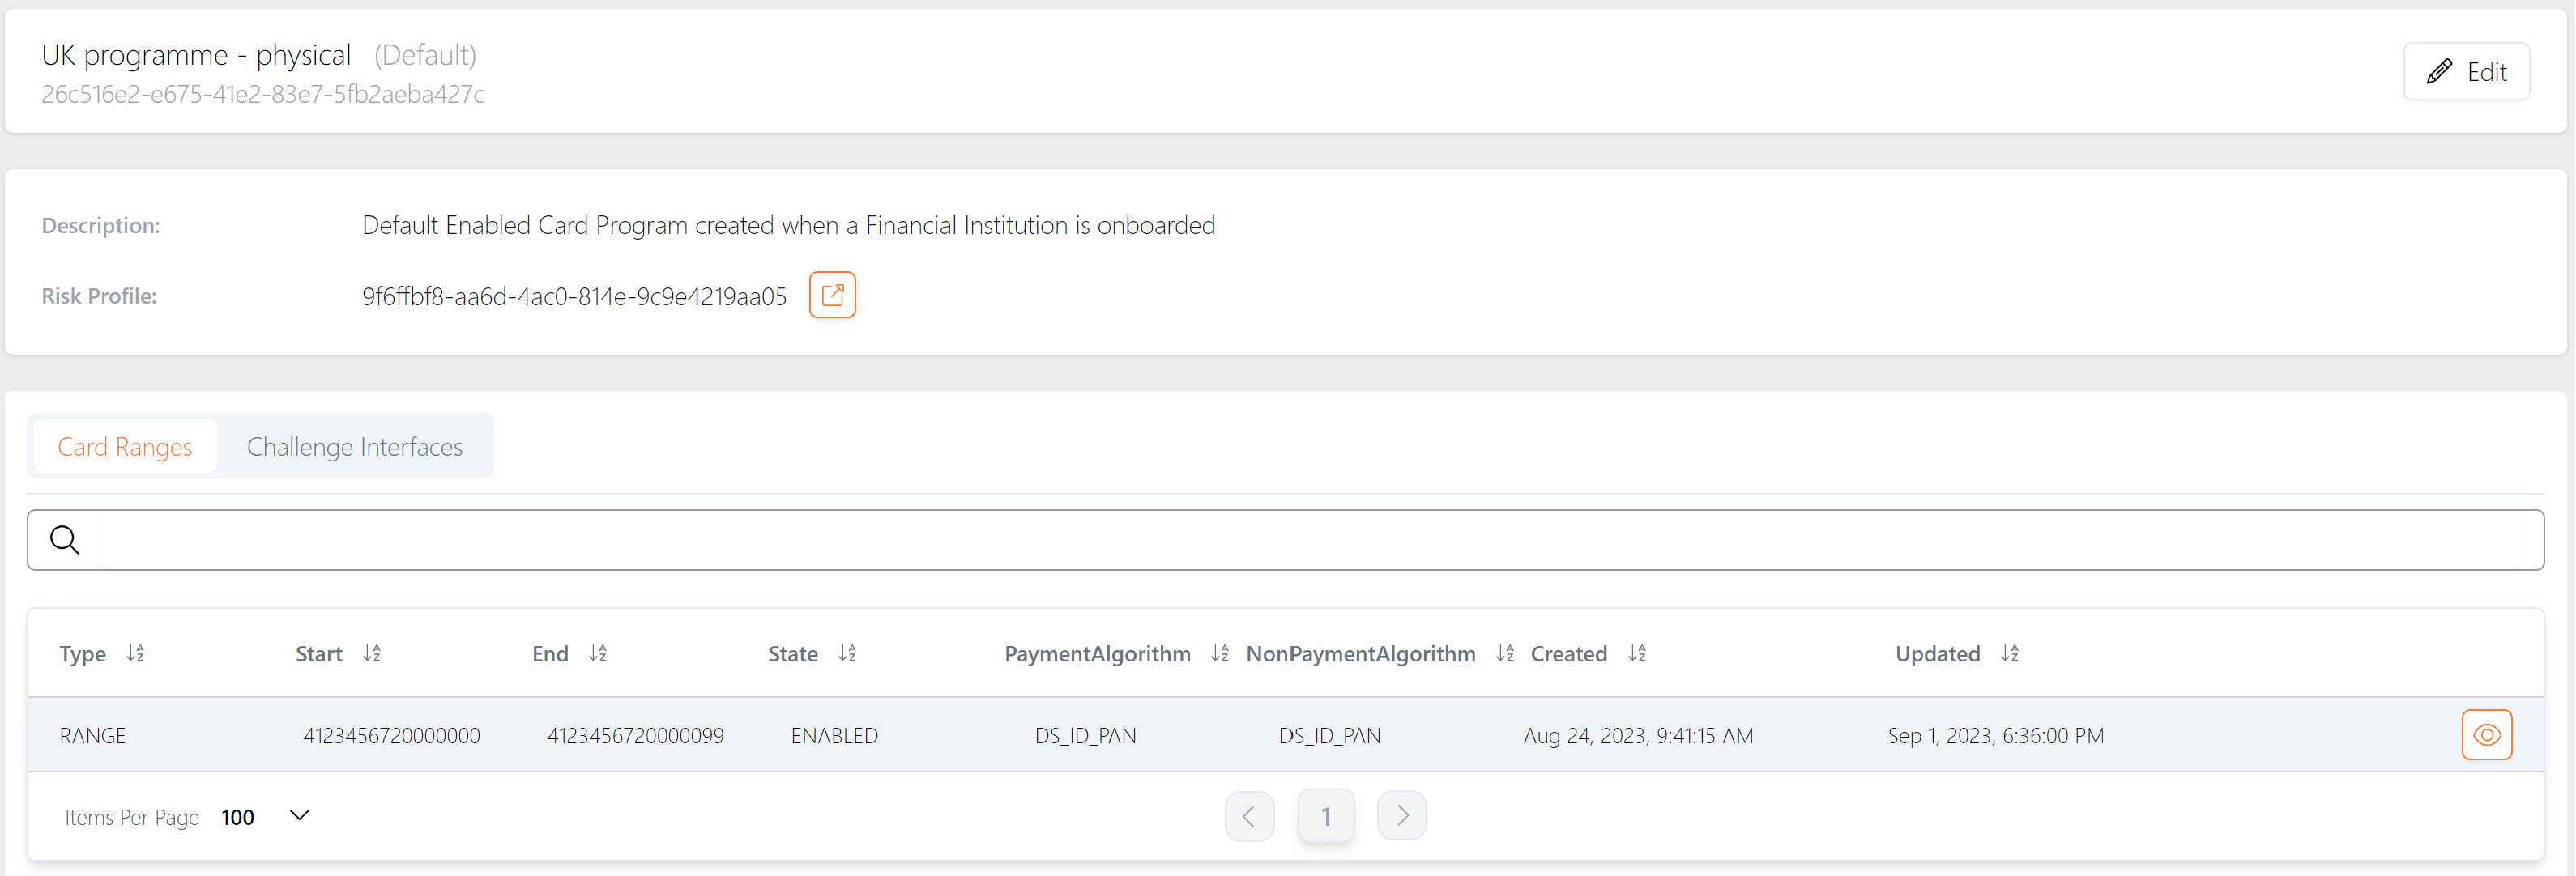
Figure 31: Card Program Example - UK Physical Cards